


A Valentines Day Keepsake is a great project for the Cricut cutting machine. This can be given to a loved one, friends, and more. Learn how to make a souvenir using the Cricut cutting machine.
Materials and Supplies: Affiliate links are included
Cricut Explore or Maker series with green standard mat, Cricut Shop
Cricut Kraftboard, Cricut Shop
Removable Vinyl, standard grip transfer tape Cricut Shop
Printable Vinyl, Cricut Shop
Color Printer, Amazon
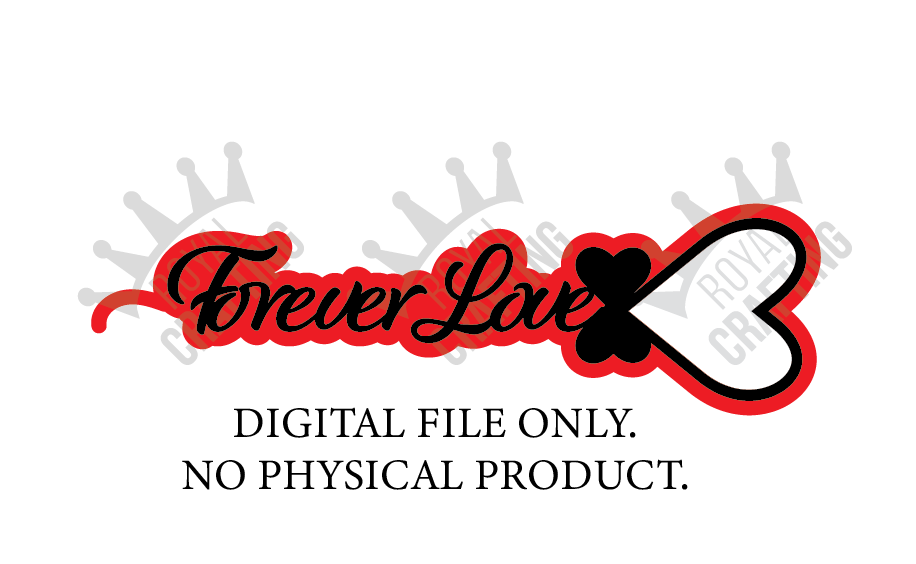
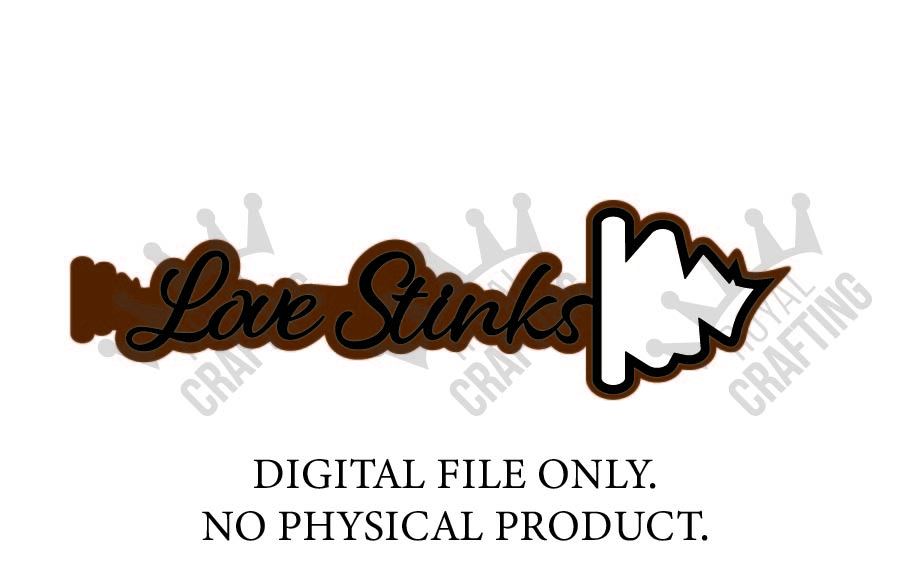
Link to digital files to download for the tutorial HERE
Let’s get started!
- Download one of the digital files to upload into Cricut Design Space. If you downloaded the set, make sure the compressed file is unzipped.
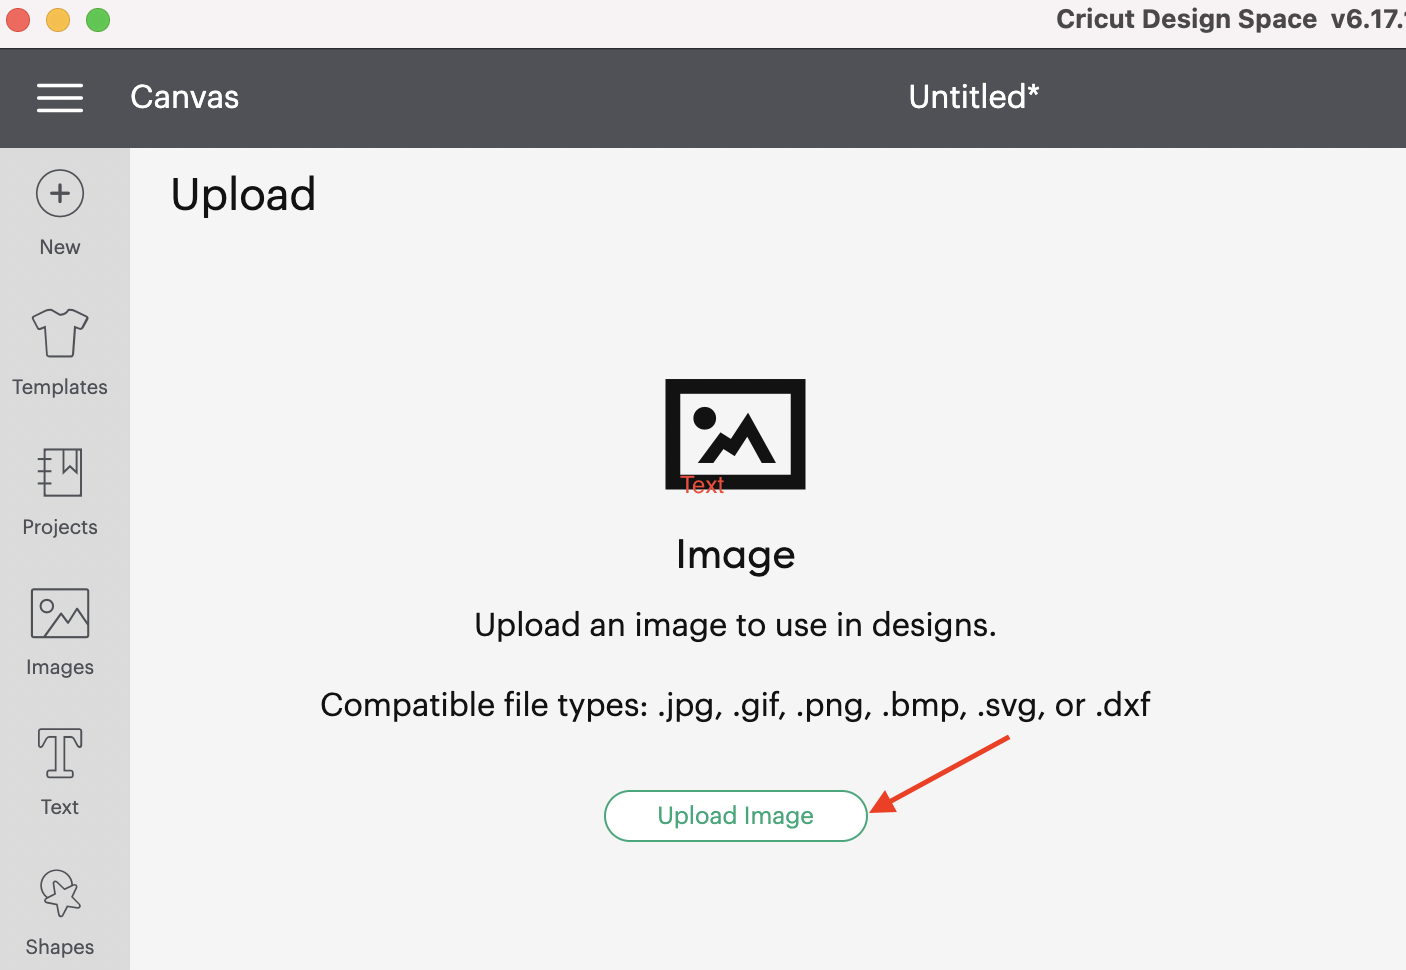
- After the file has been downloaded, upload into Cricut Design Space. Select Upload from the right panel.
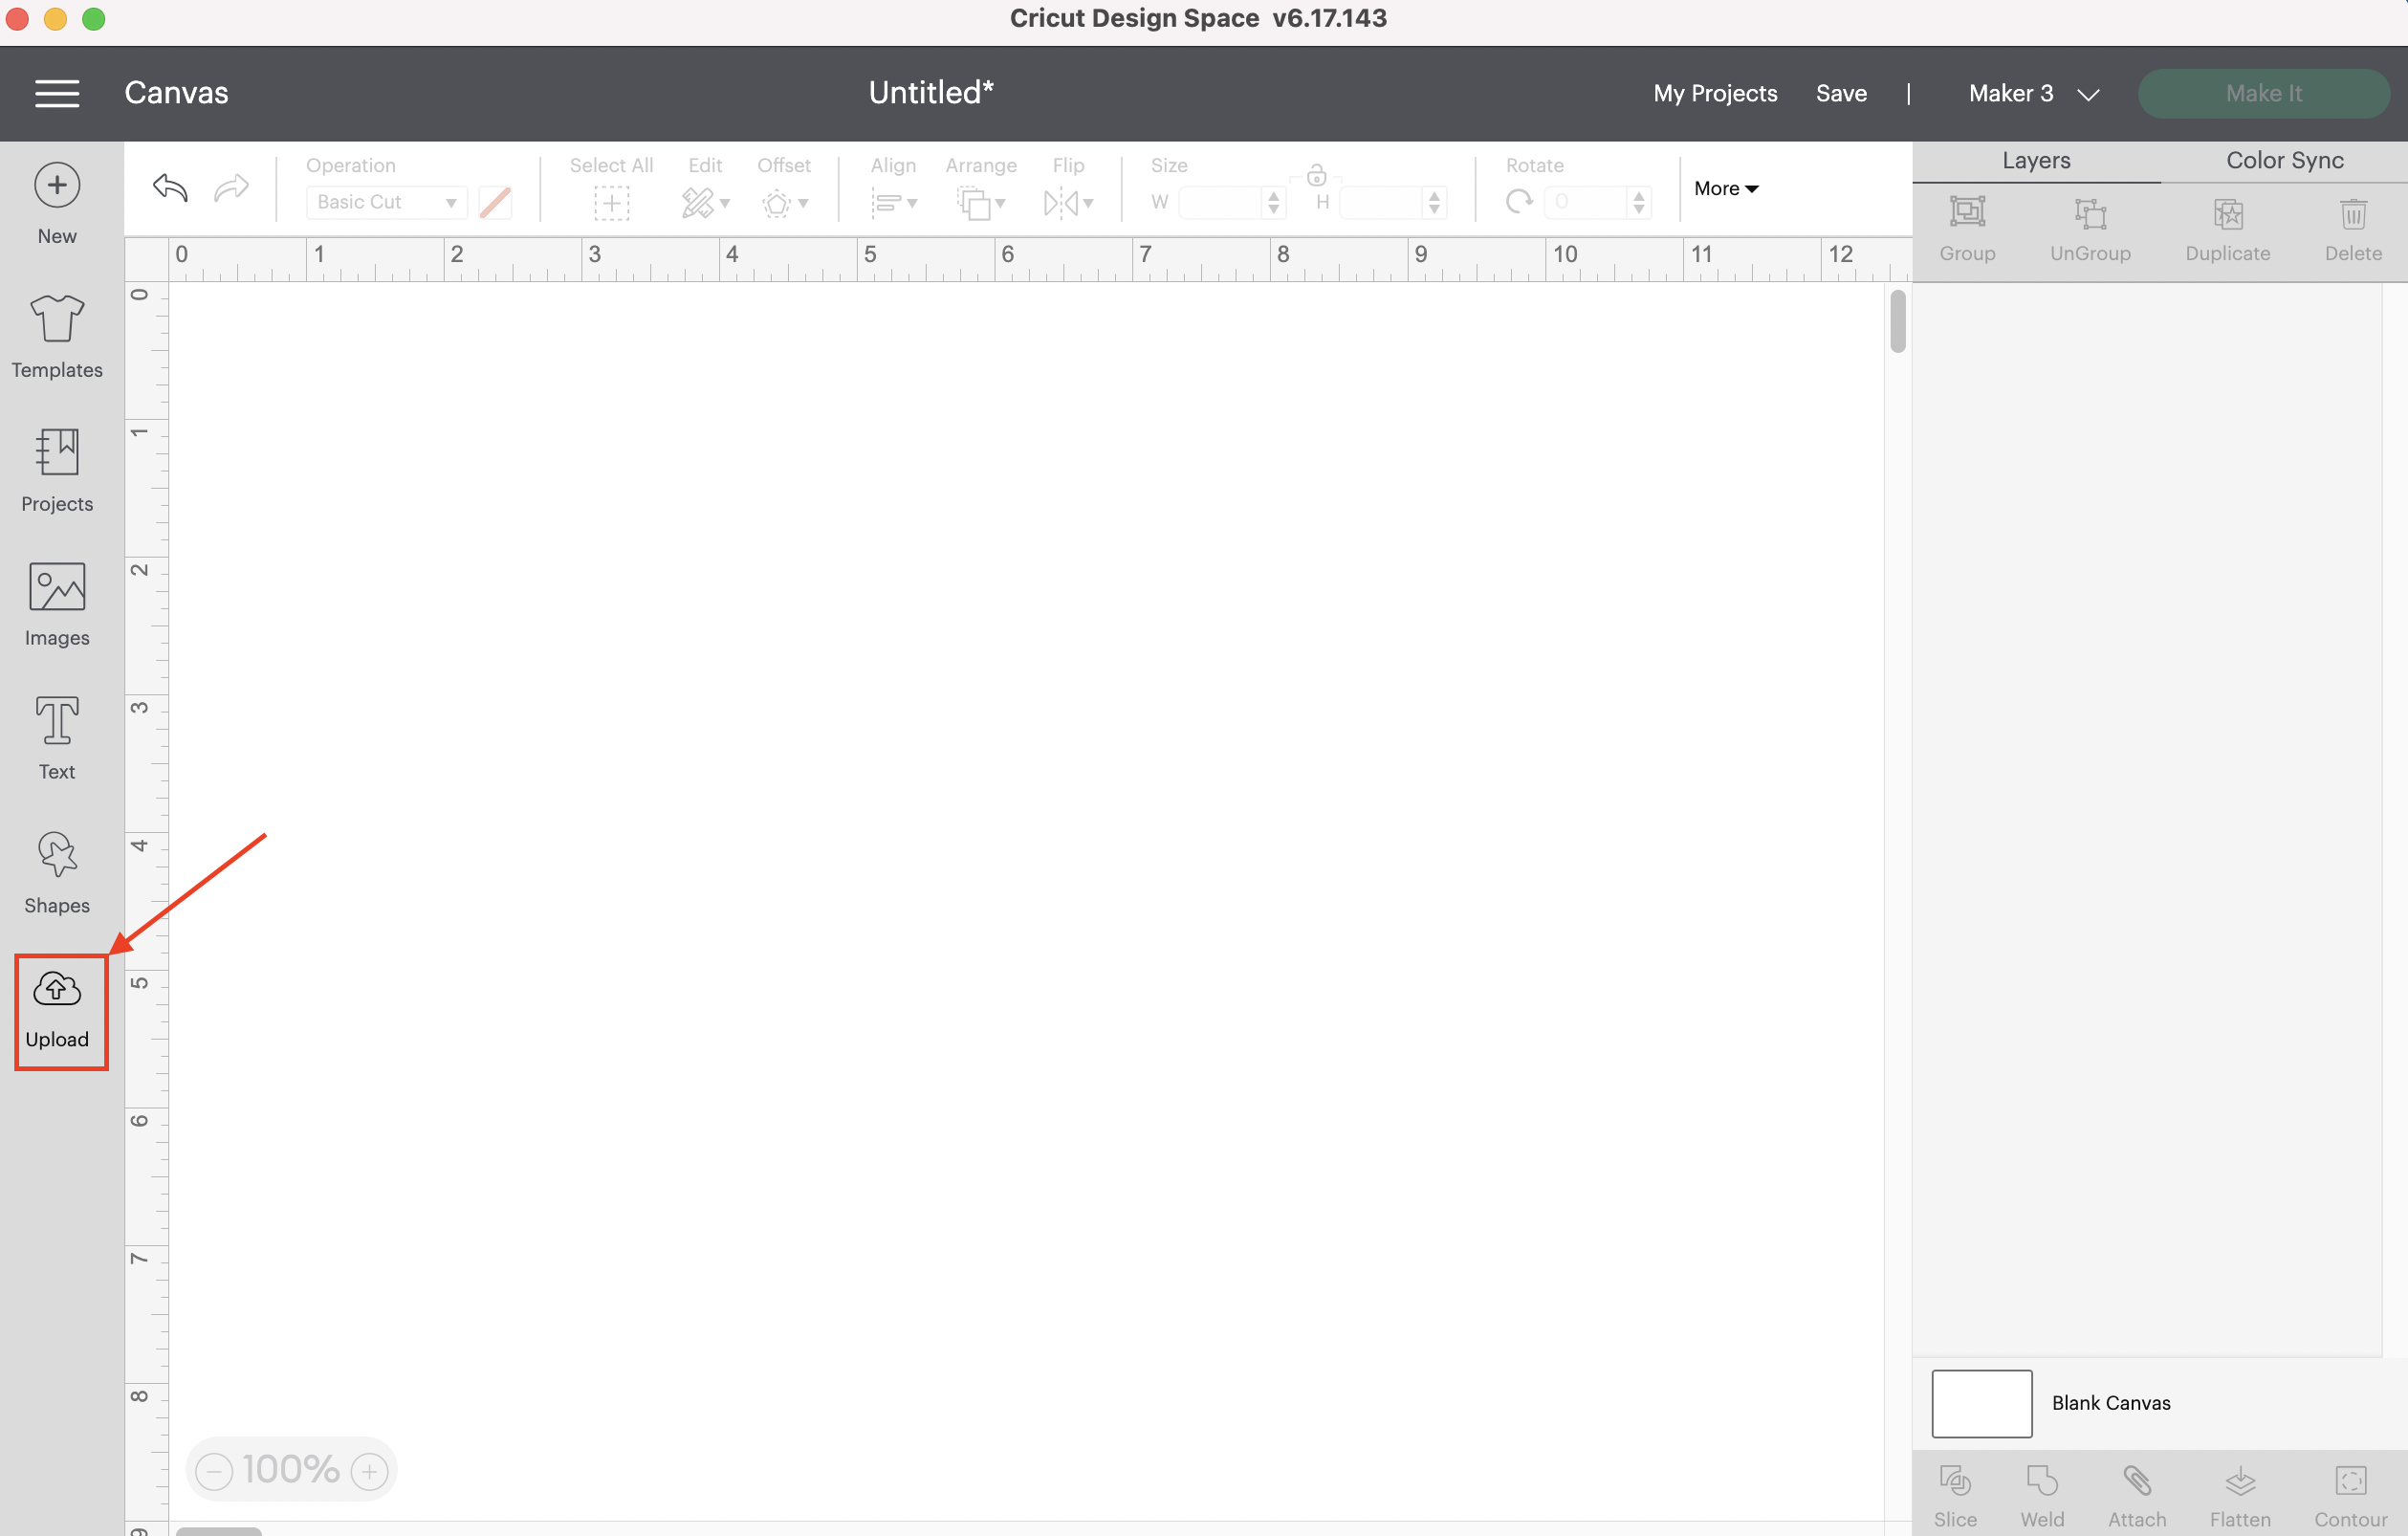
- Select upload image and locate the SVG digital keepsake file.
- Select the digital SVG file and upload.
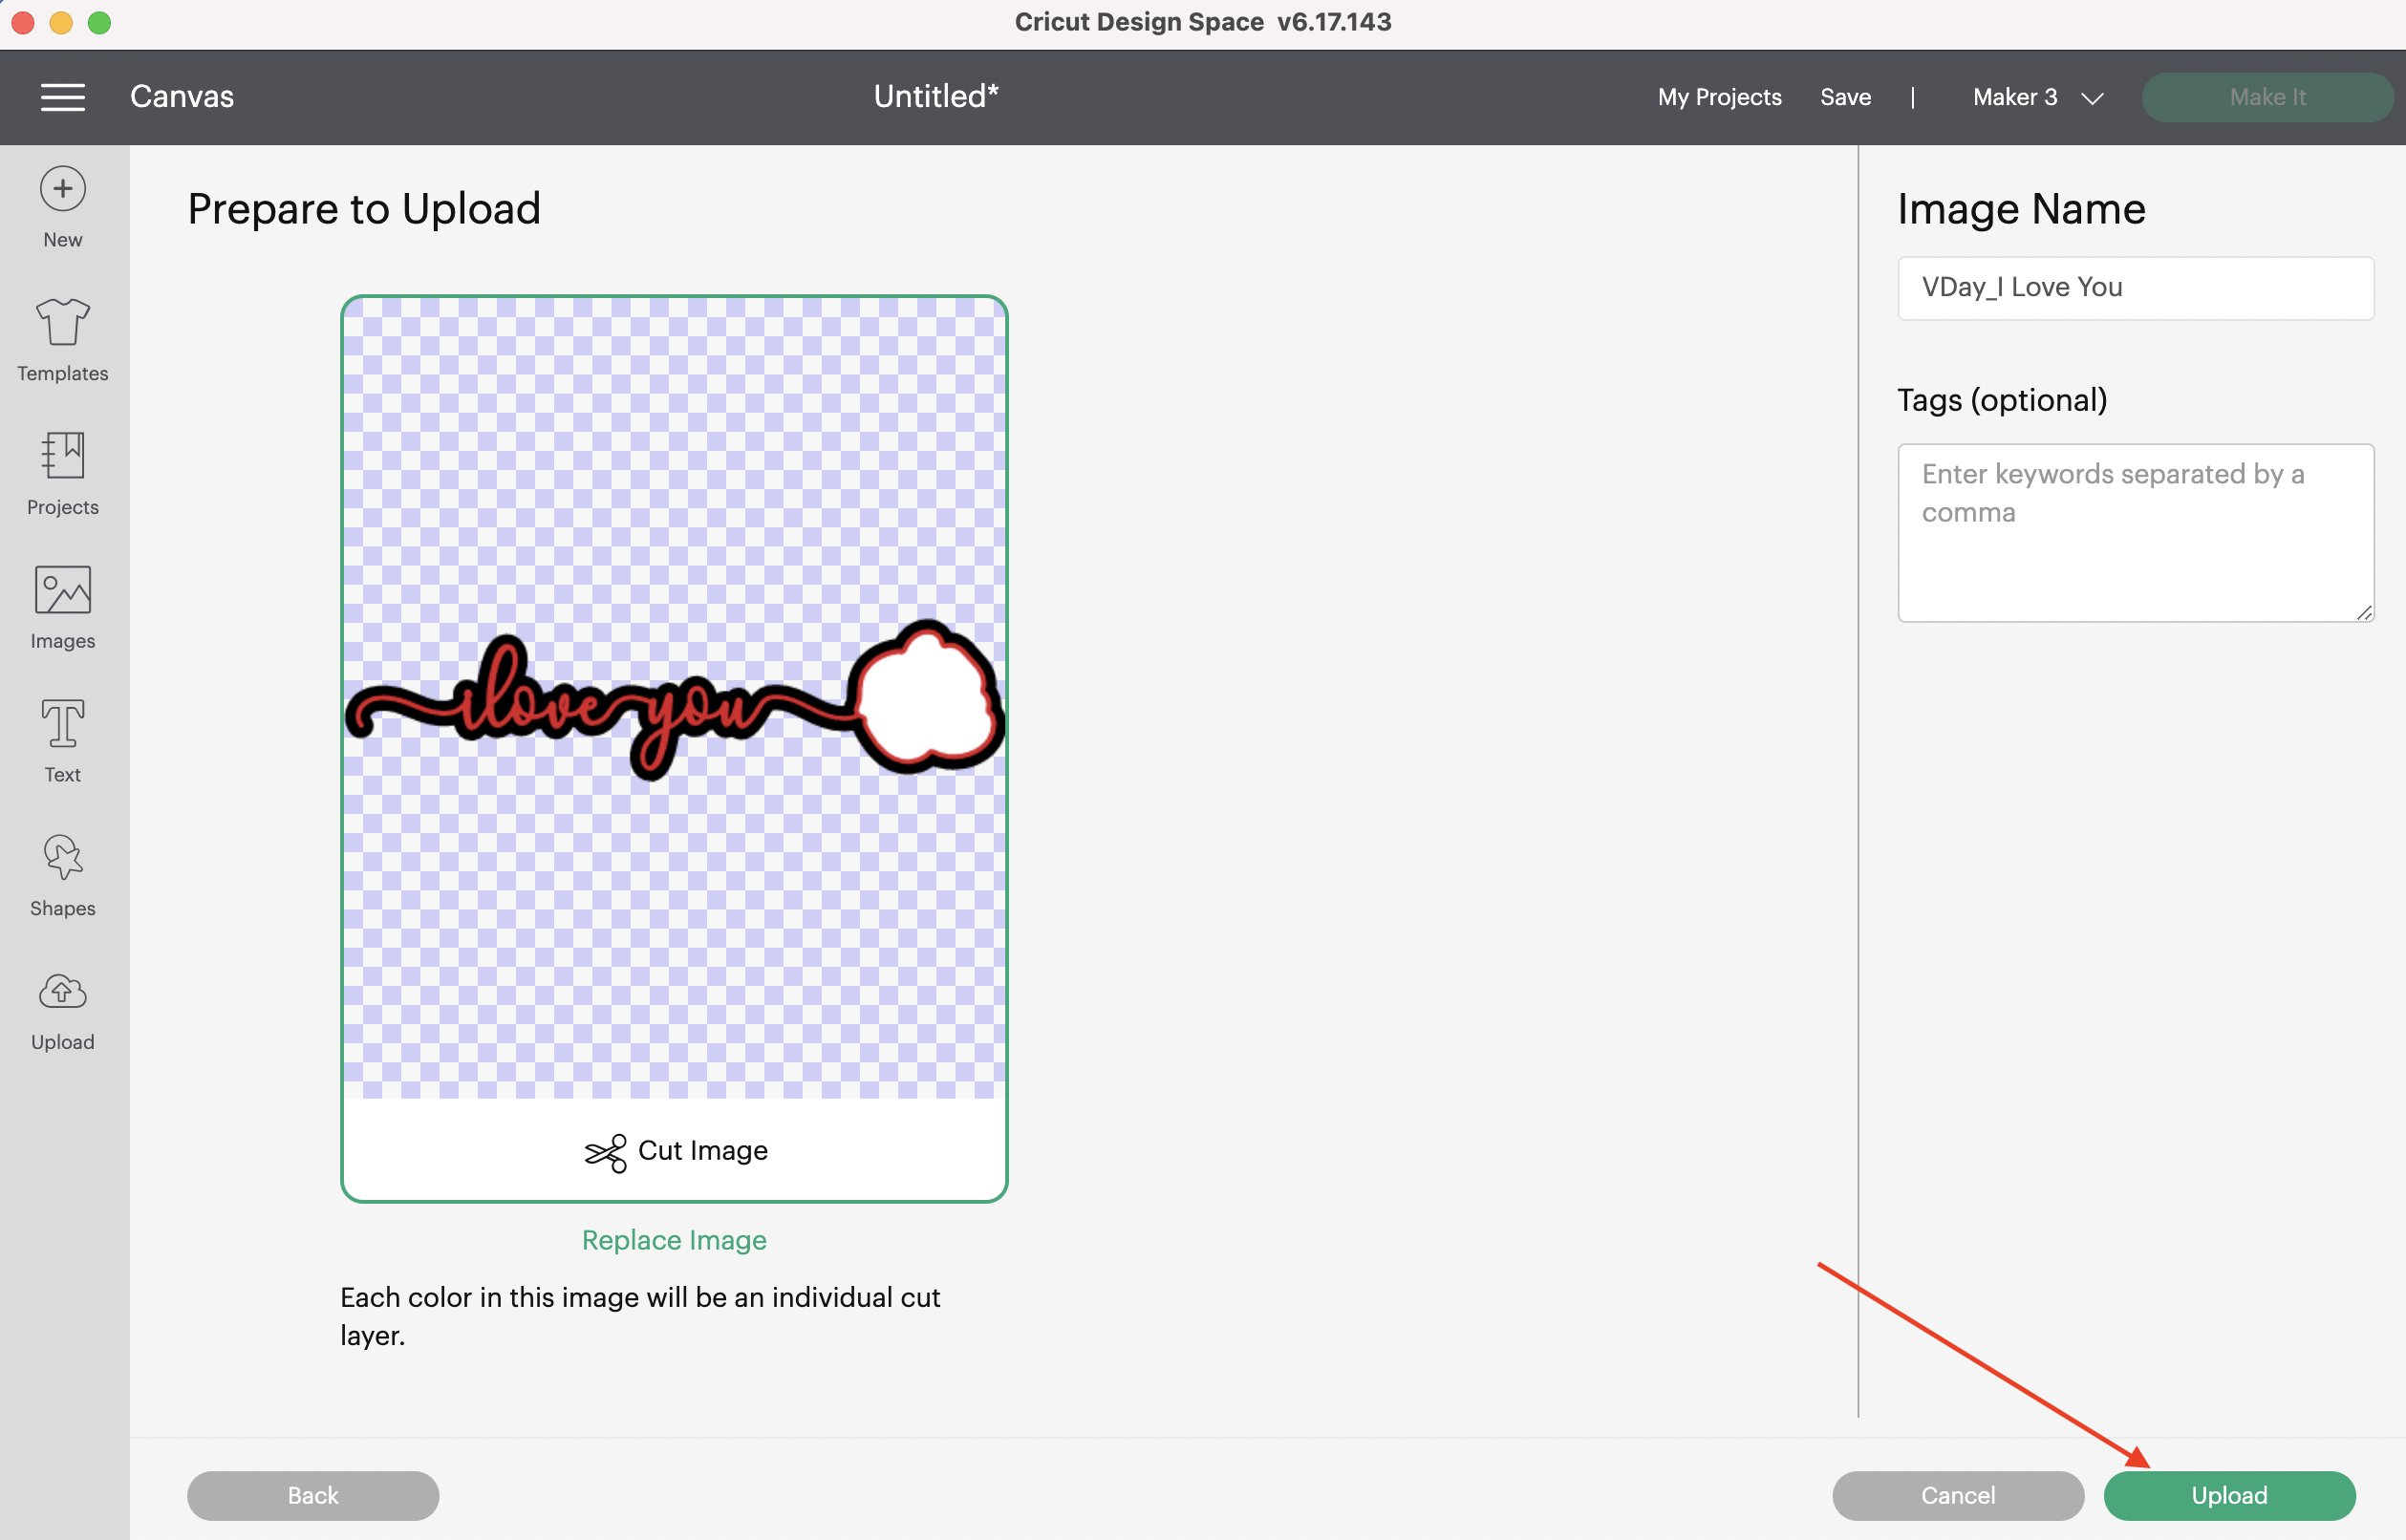 Select the newly uploaded file and add to canvas.
 - The file is now added to the Cricut Design Space canvas. The file is grouped and in layers. There is a background layer, top layer, and a white layer. In the “I love you” file, the black layer is the background and the red layer goes on top. The white layer is used for print and cut, once the pattern has been added.
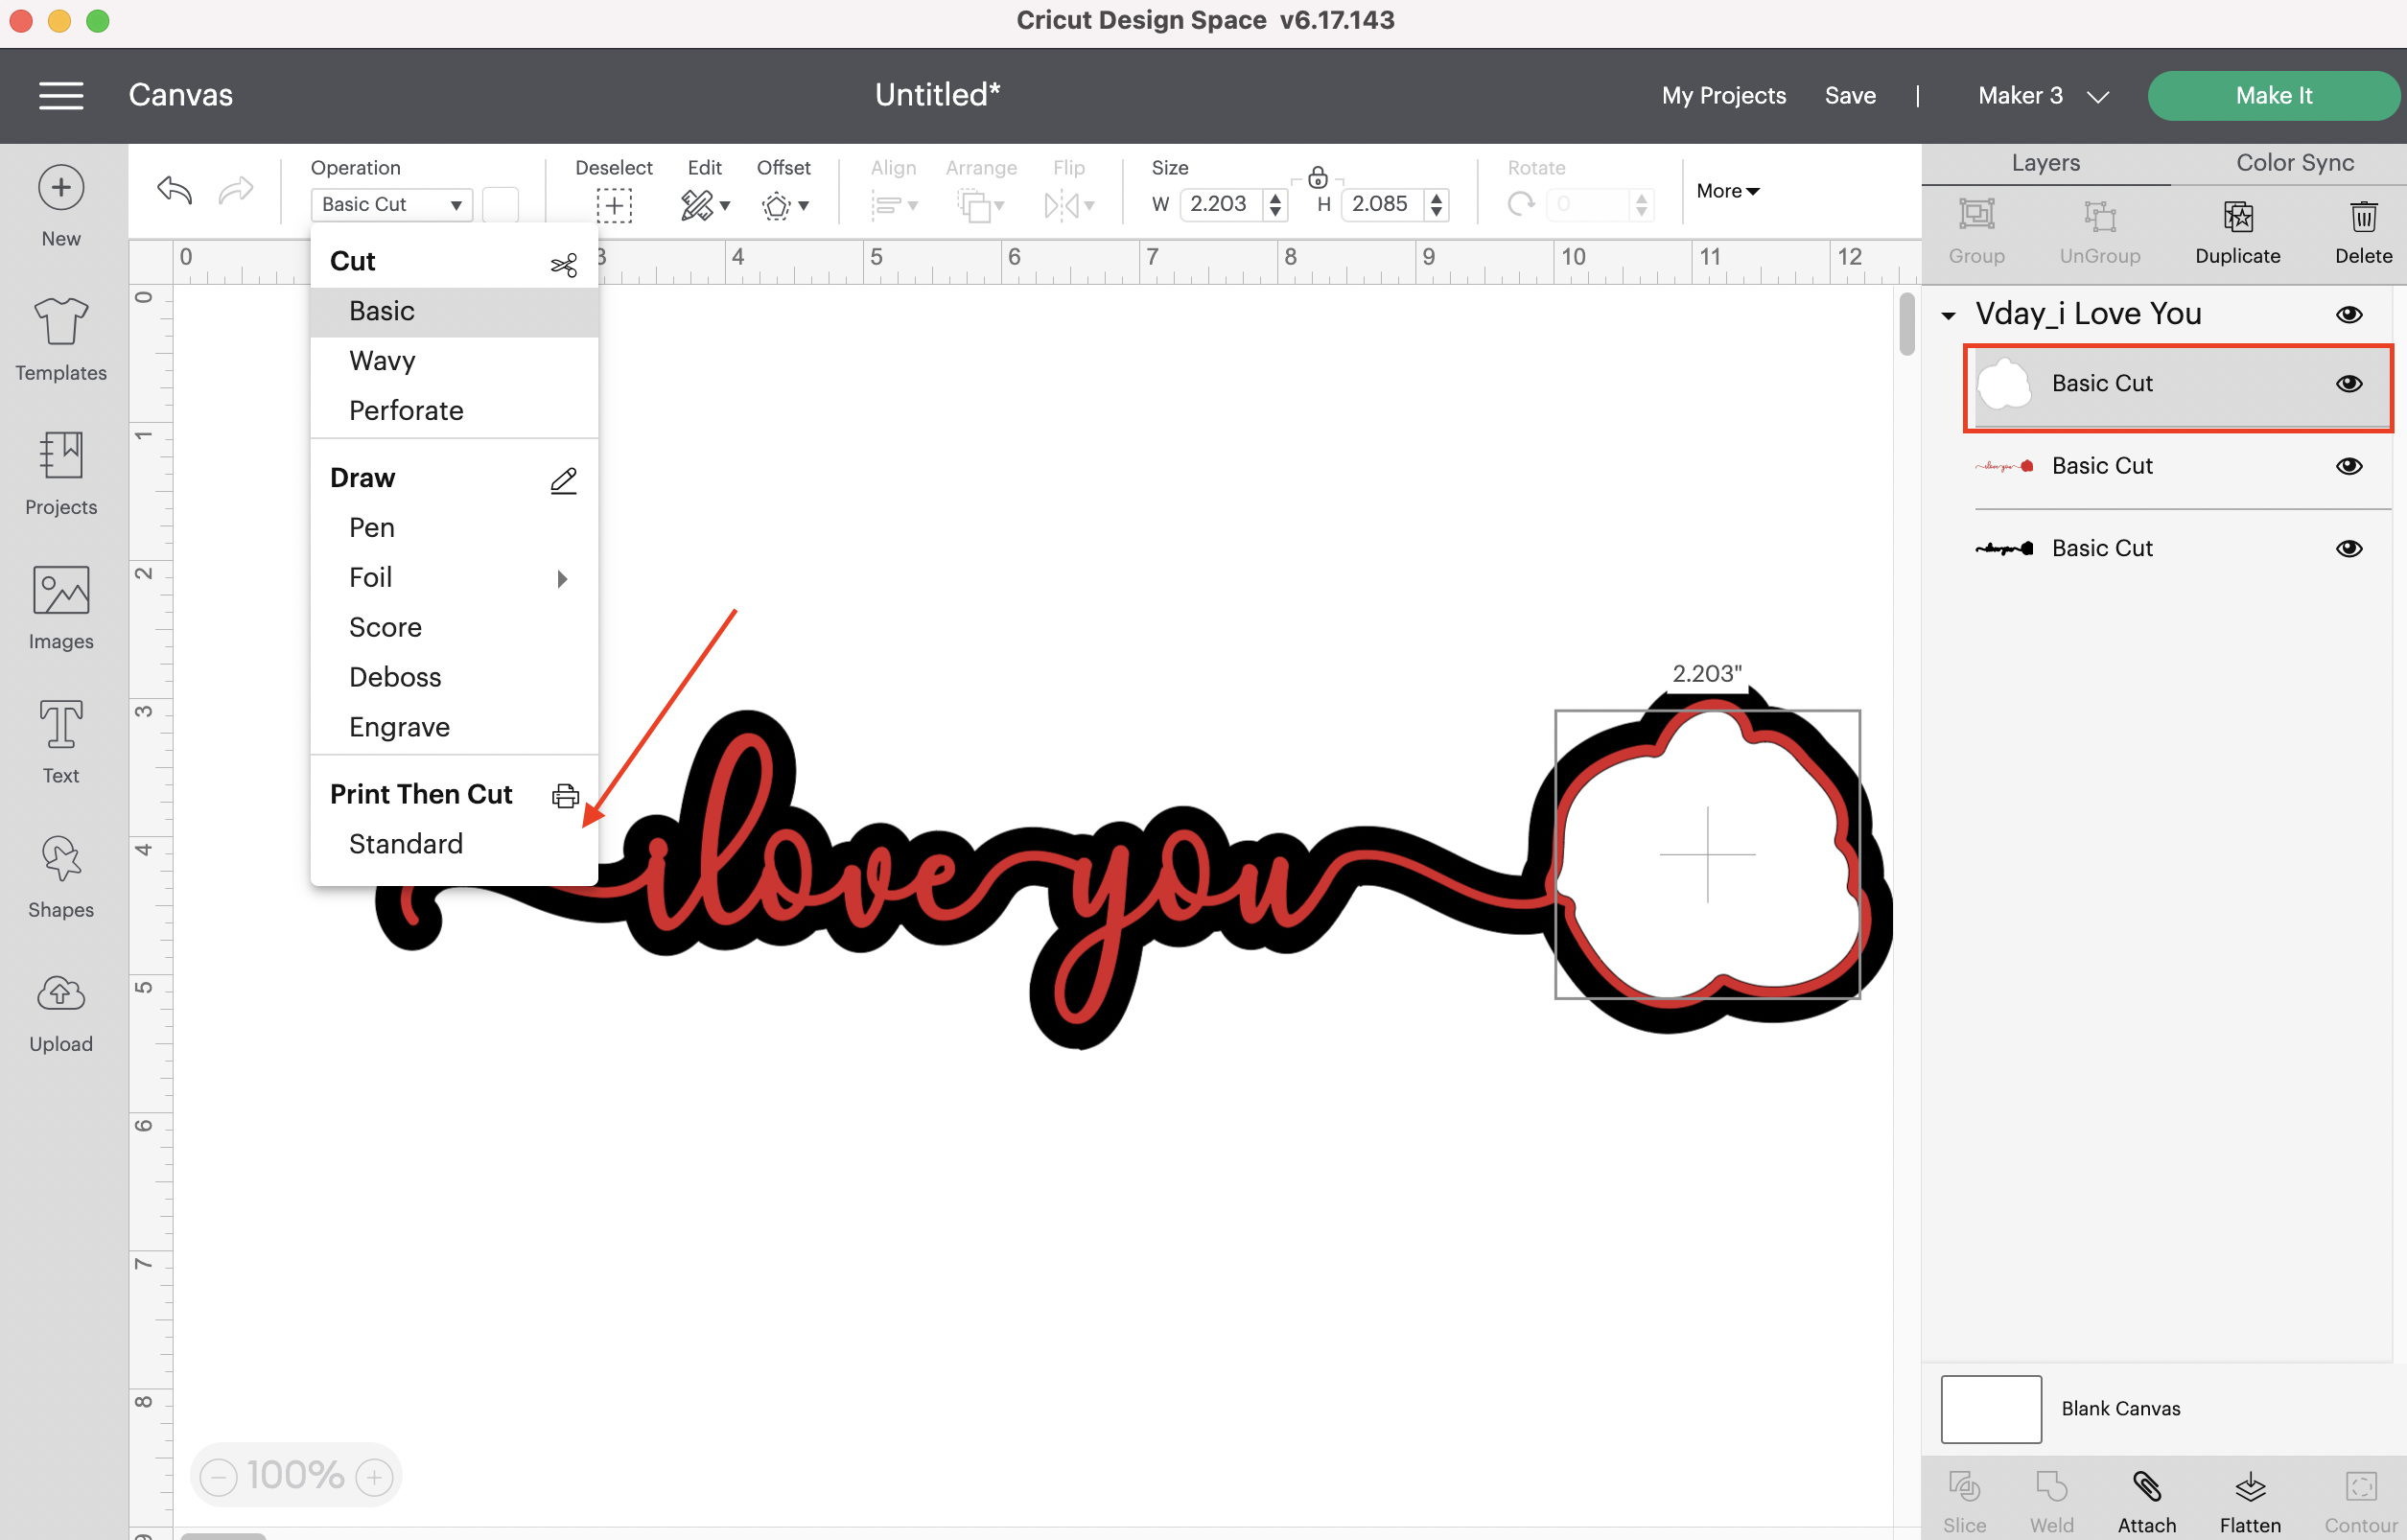
- In the right panel, select the white layer. Next, select from the Operation menu/ Basic Cut dropdown from the top menu and select Print and Cut.
- Make sure the white layer is still selected from the right panel. Now select the white box next to the Print and Cut under the top Operation Menu.
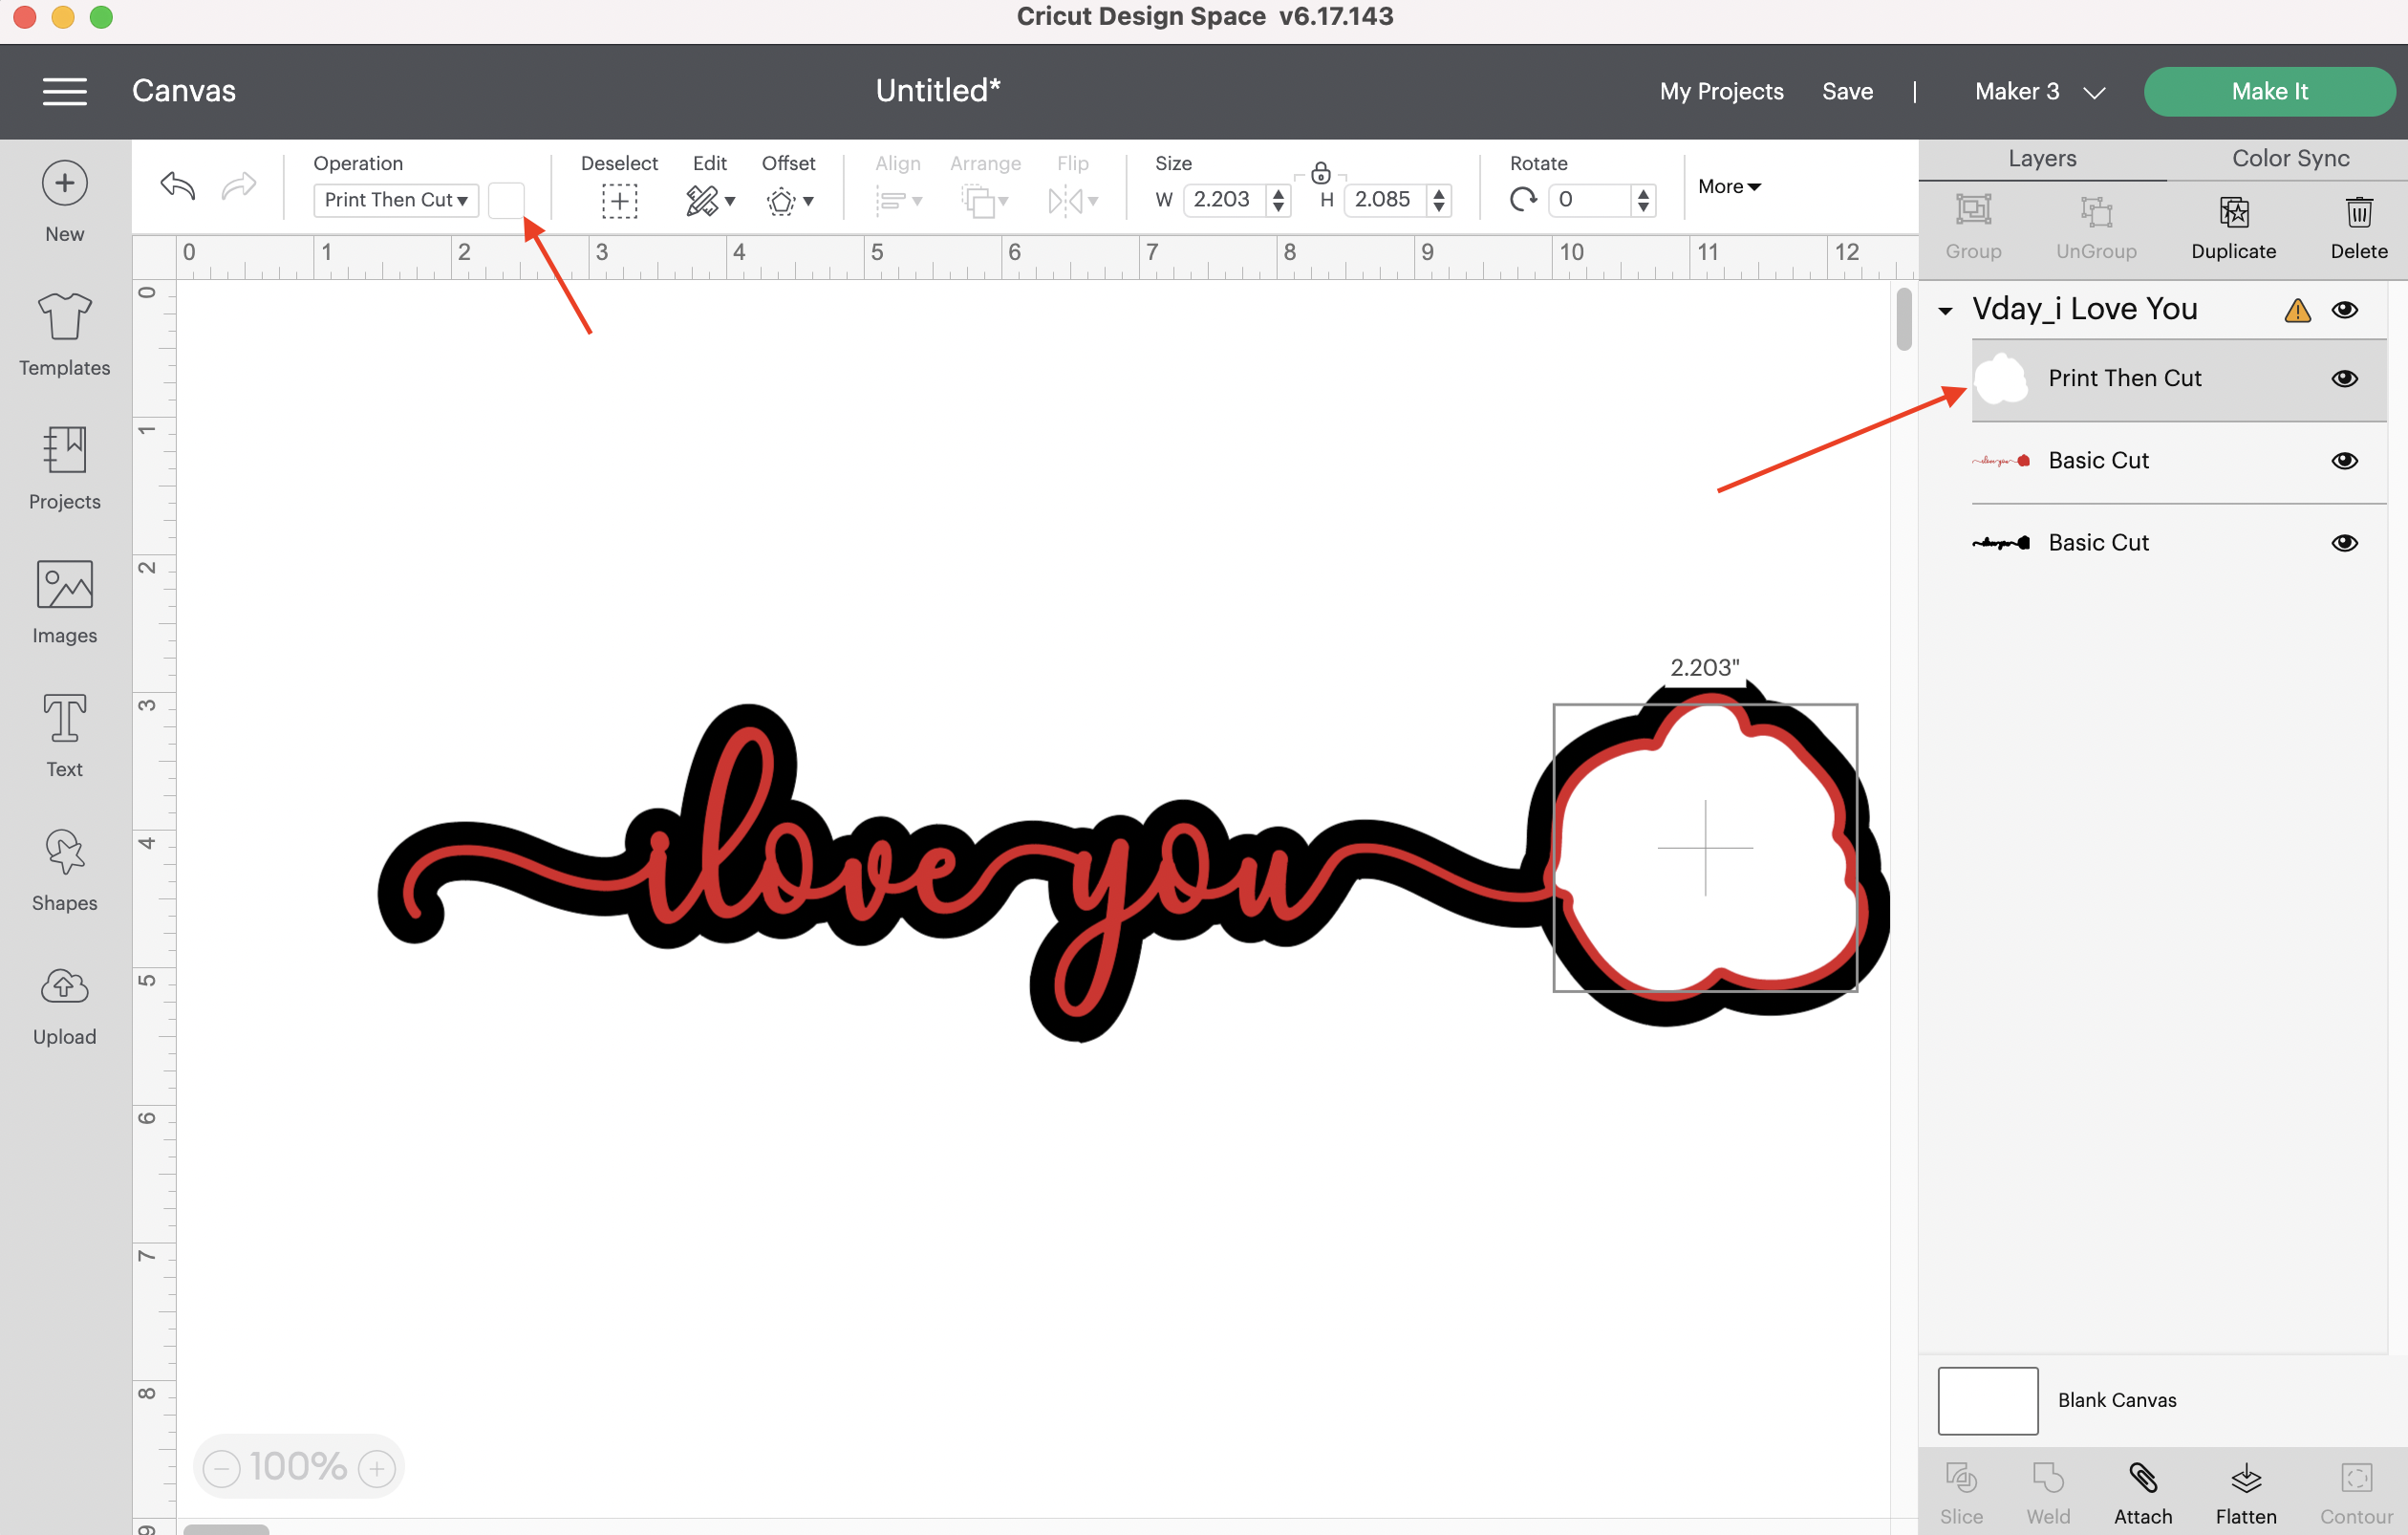
- Change print type to pattern.
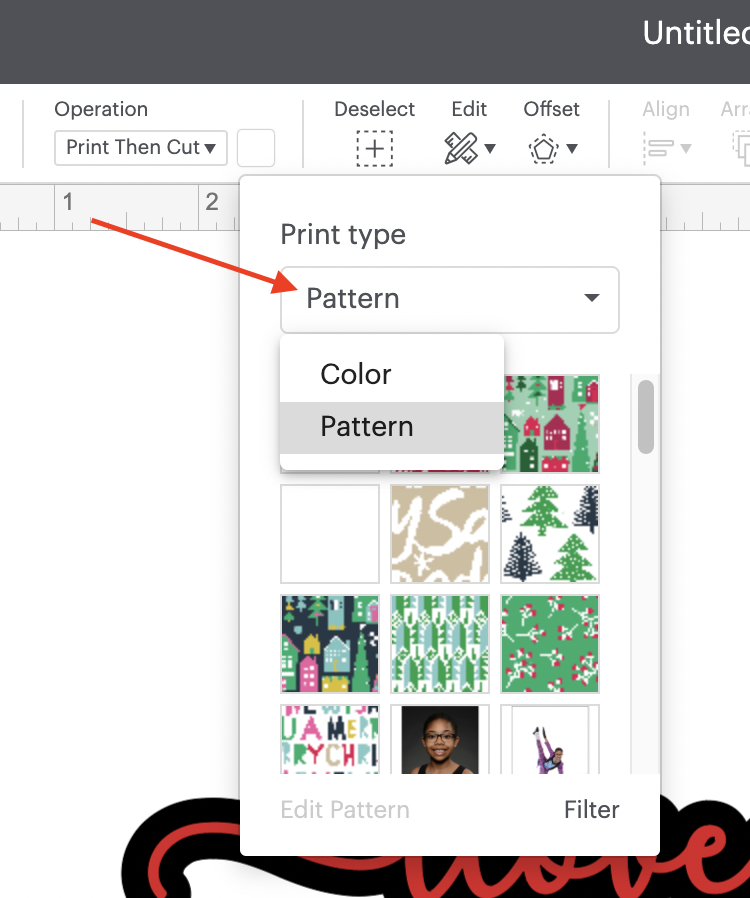
- Select the image you would like to use. If it is not uploaded, go to upload from the left menu on the main canvas. Upload the image file and it will automatically appear in the patterns.
- Once the image has been selected, go to edit pattern. Make the appropriate adjustments by rotating as needed (90 degrees), rescale as needed and adjust the vertical and horizontal settings to cover the area in the preview.
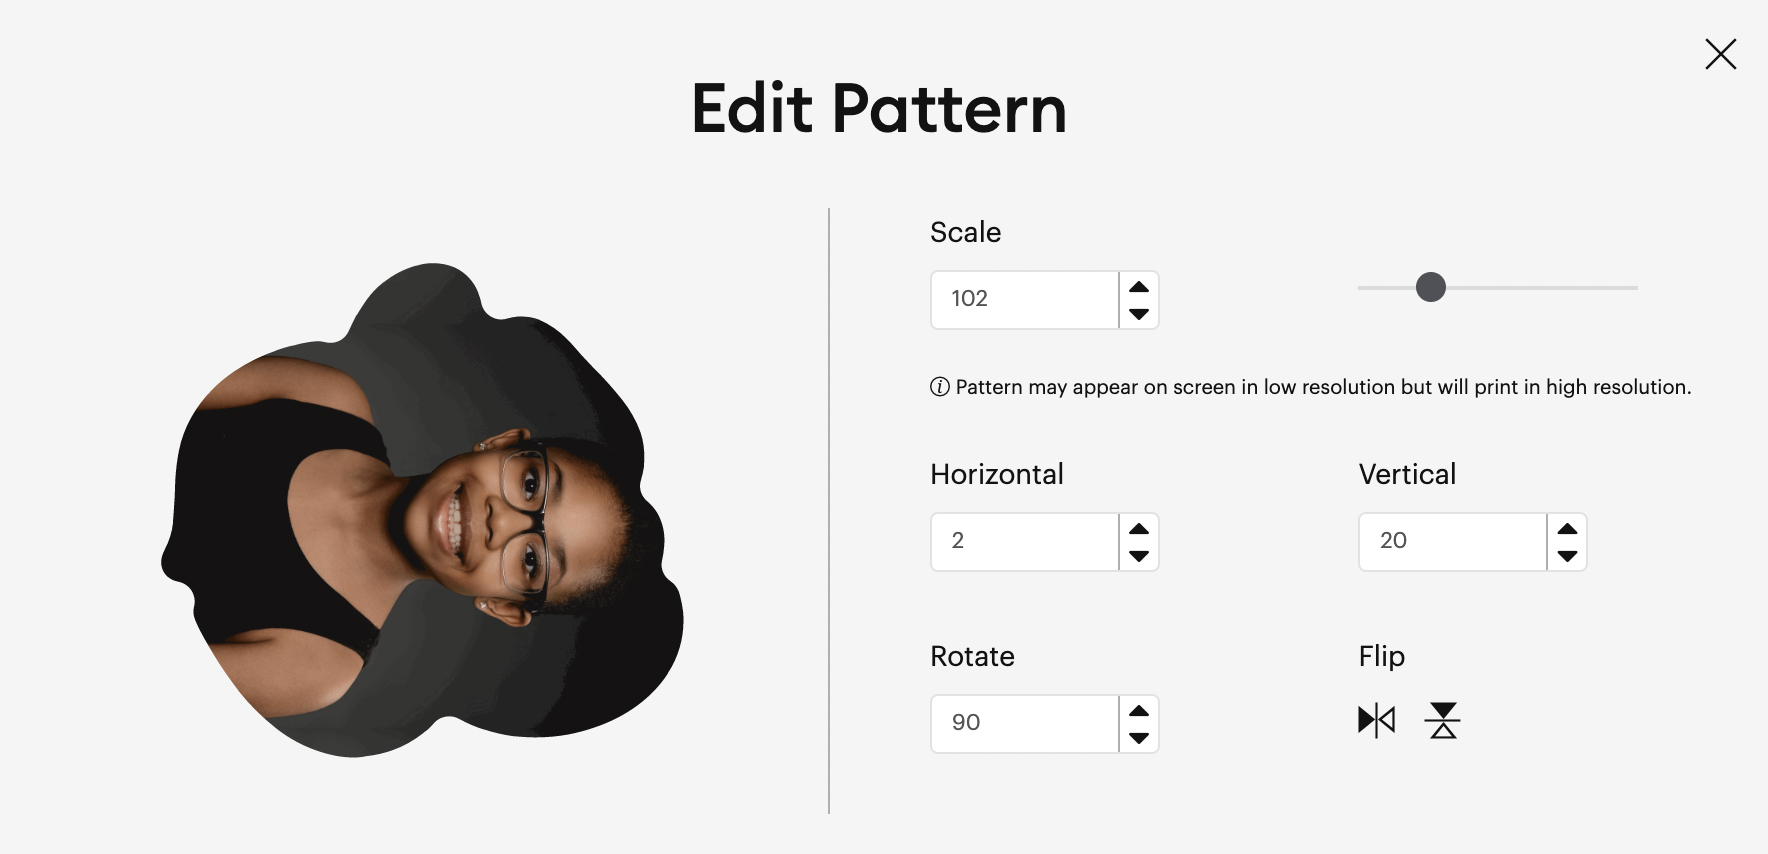 Once you have completed making the adjustments, select the X in the right corner to close out of the edit pattern dialogue box.
 - Go to the right panel and select the group. Now select ungroup.
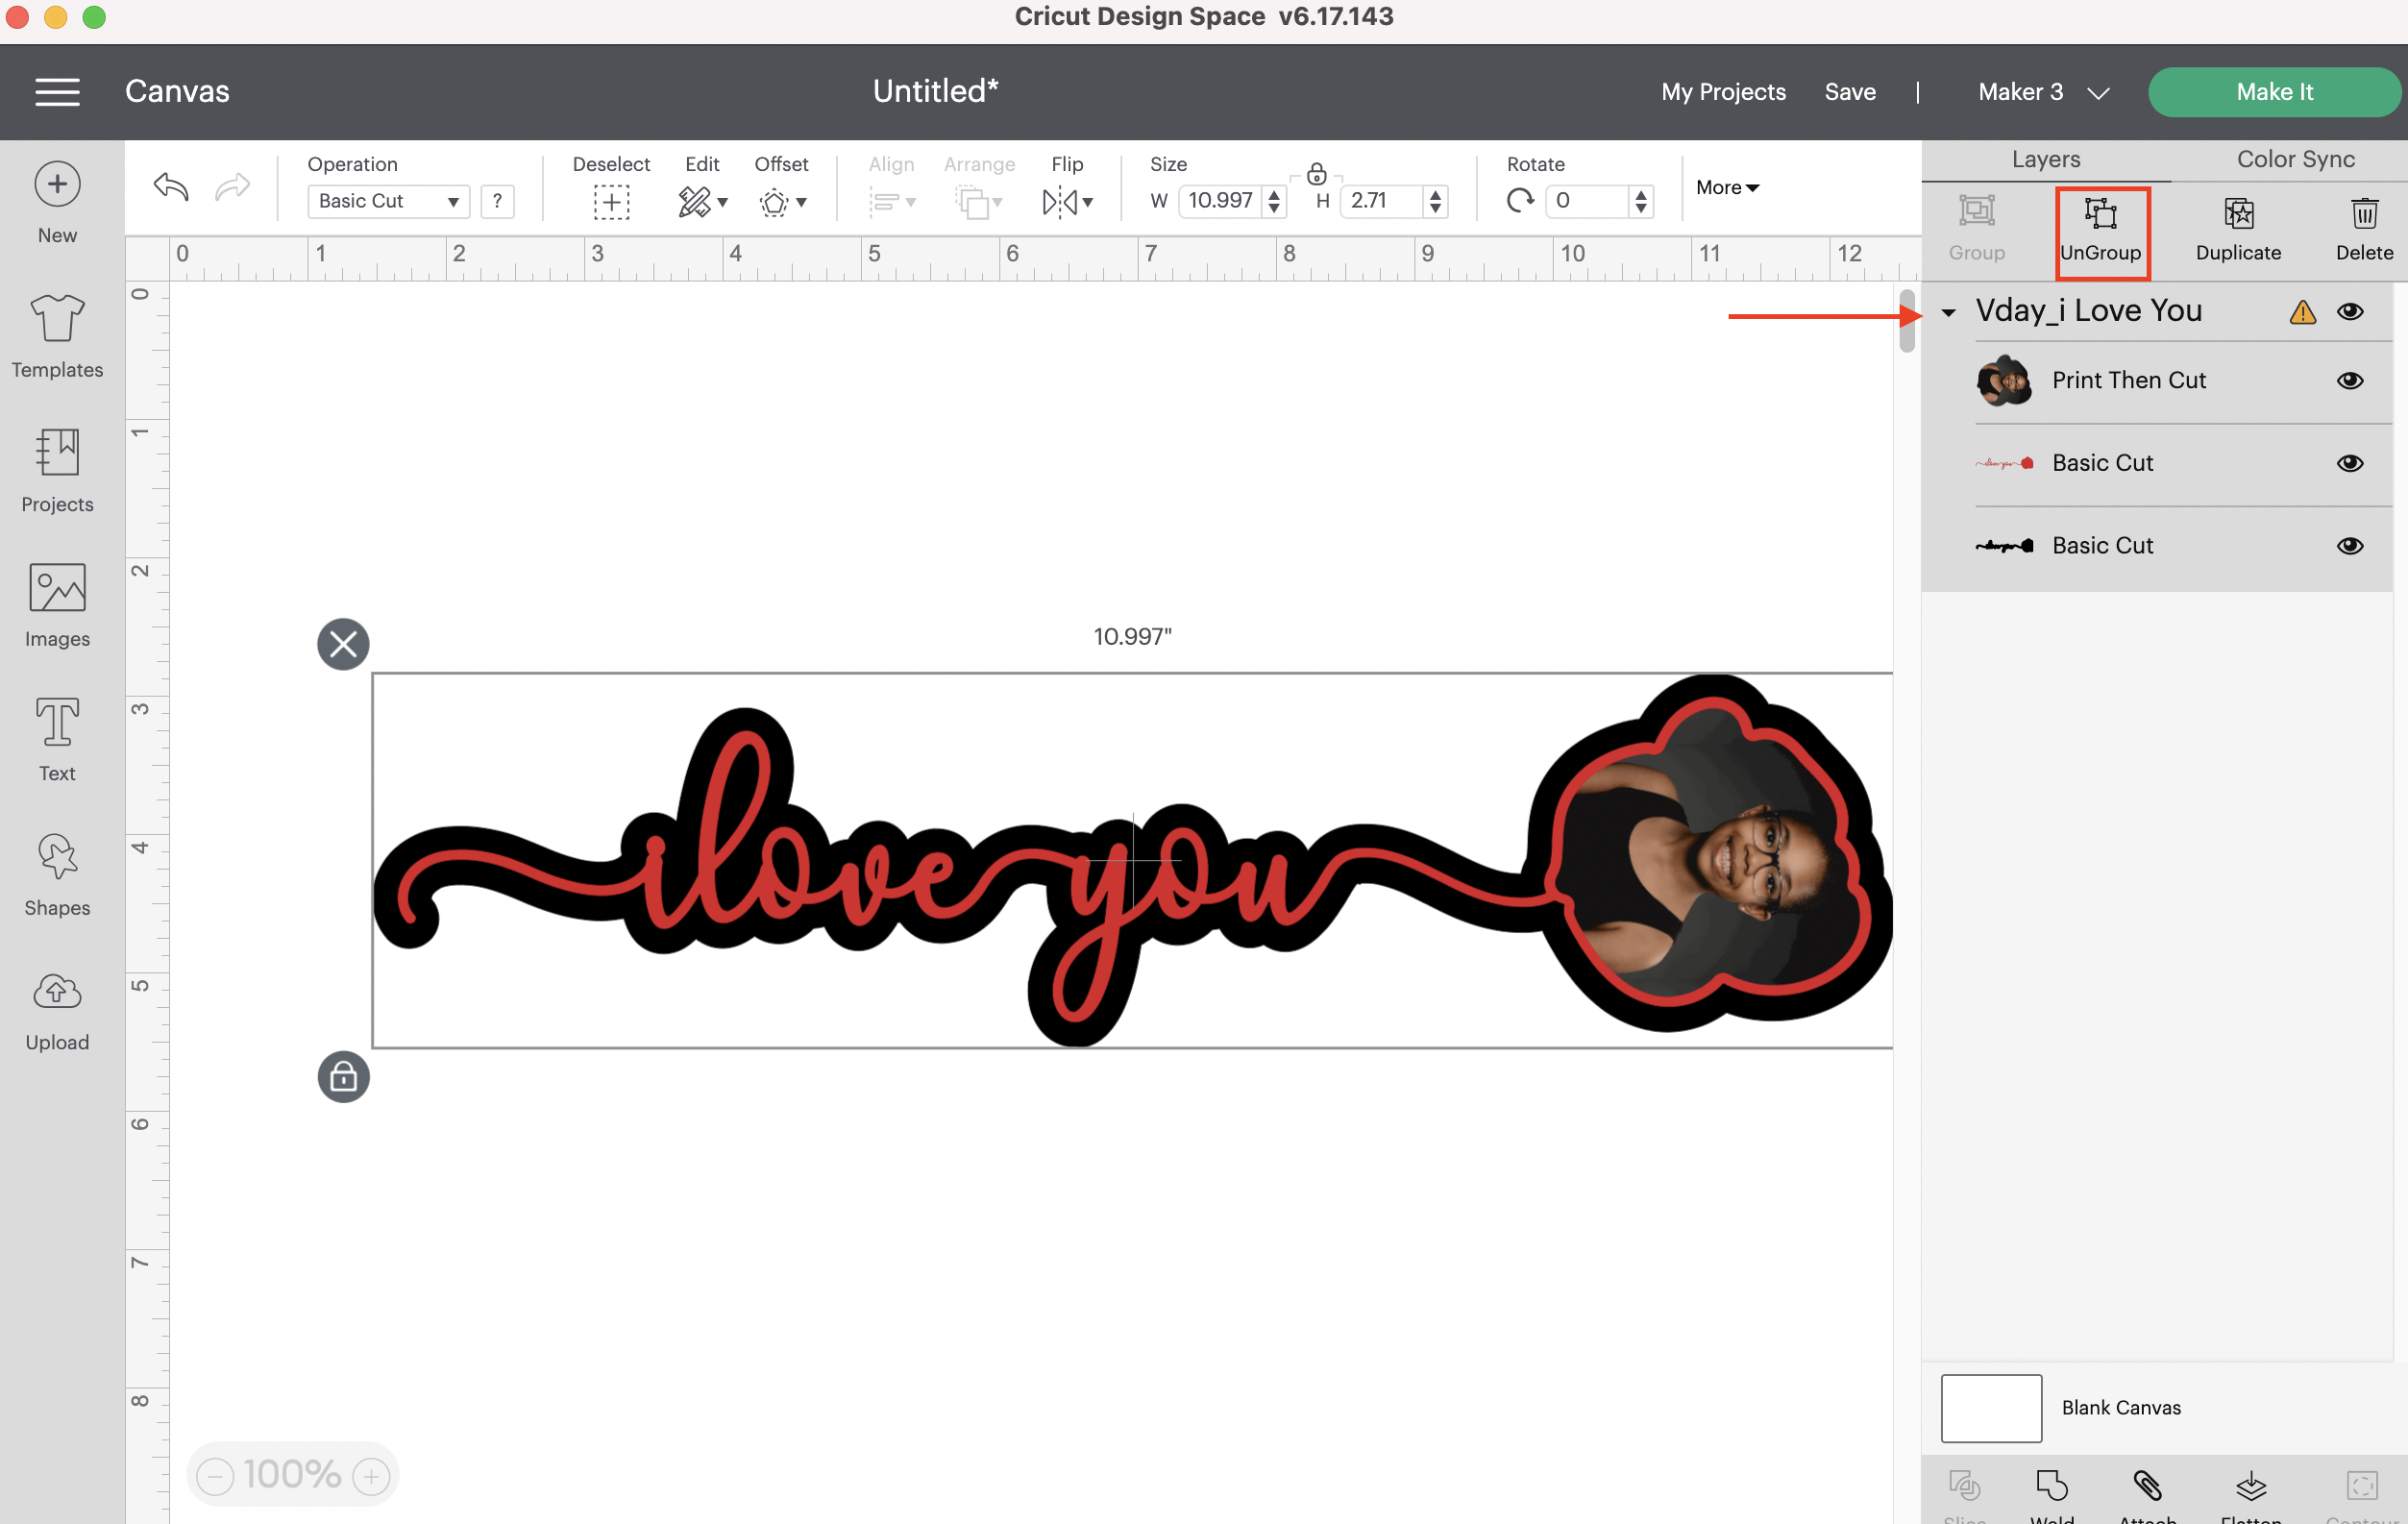
- Now you are ready to make! Select Make It in the upper right corner.
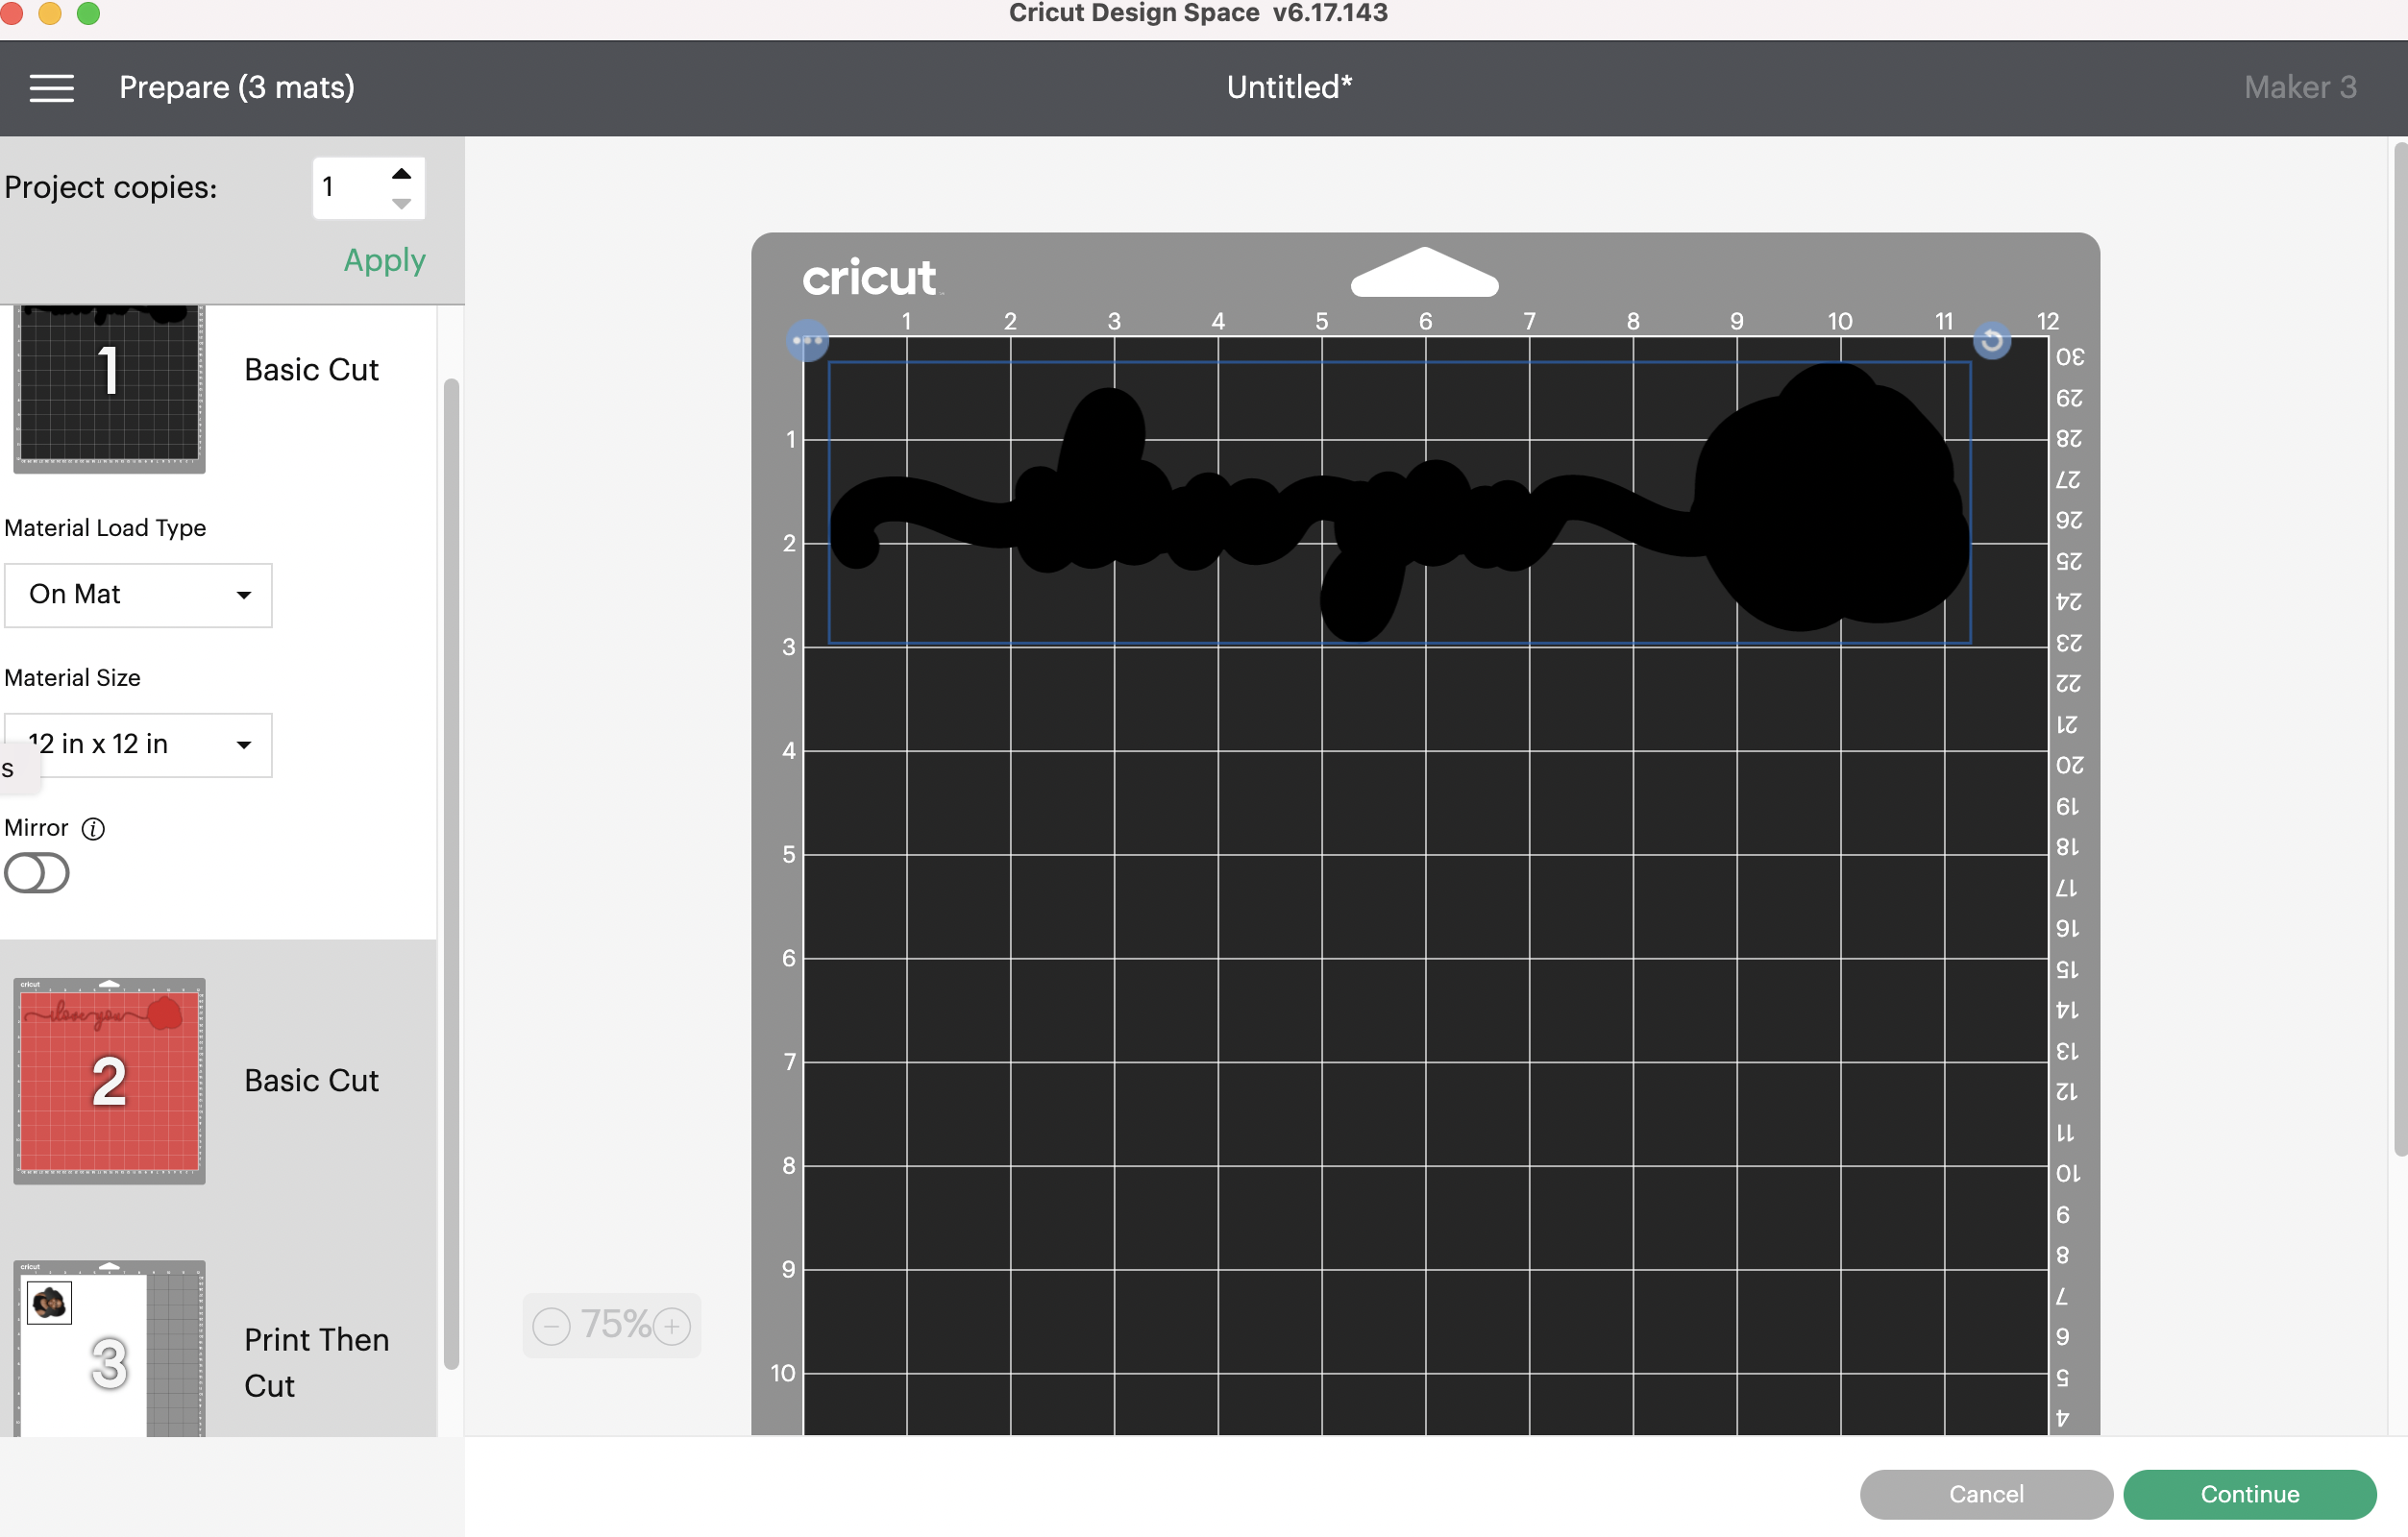
- All layers will be separated to different mats. I recommend using Kraftboard for the background (black layer). Removable vinyl or sticker cardstock (available as Smart Cardstock for the maker) for the layer above the background. Lastly, use printable vinyl for the print and cut layer. Select continue.
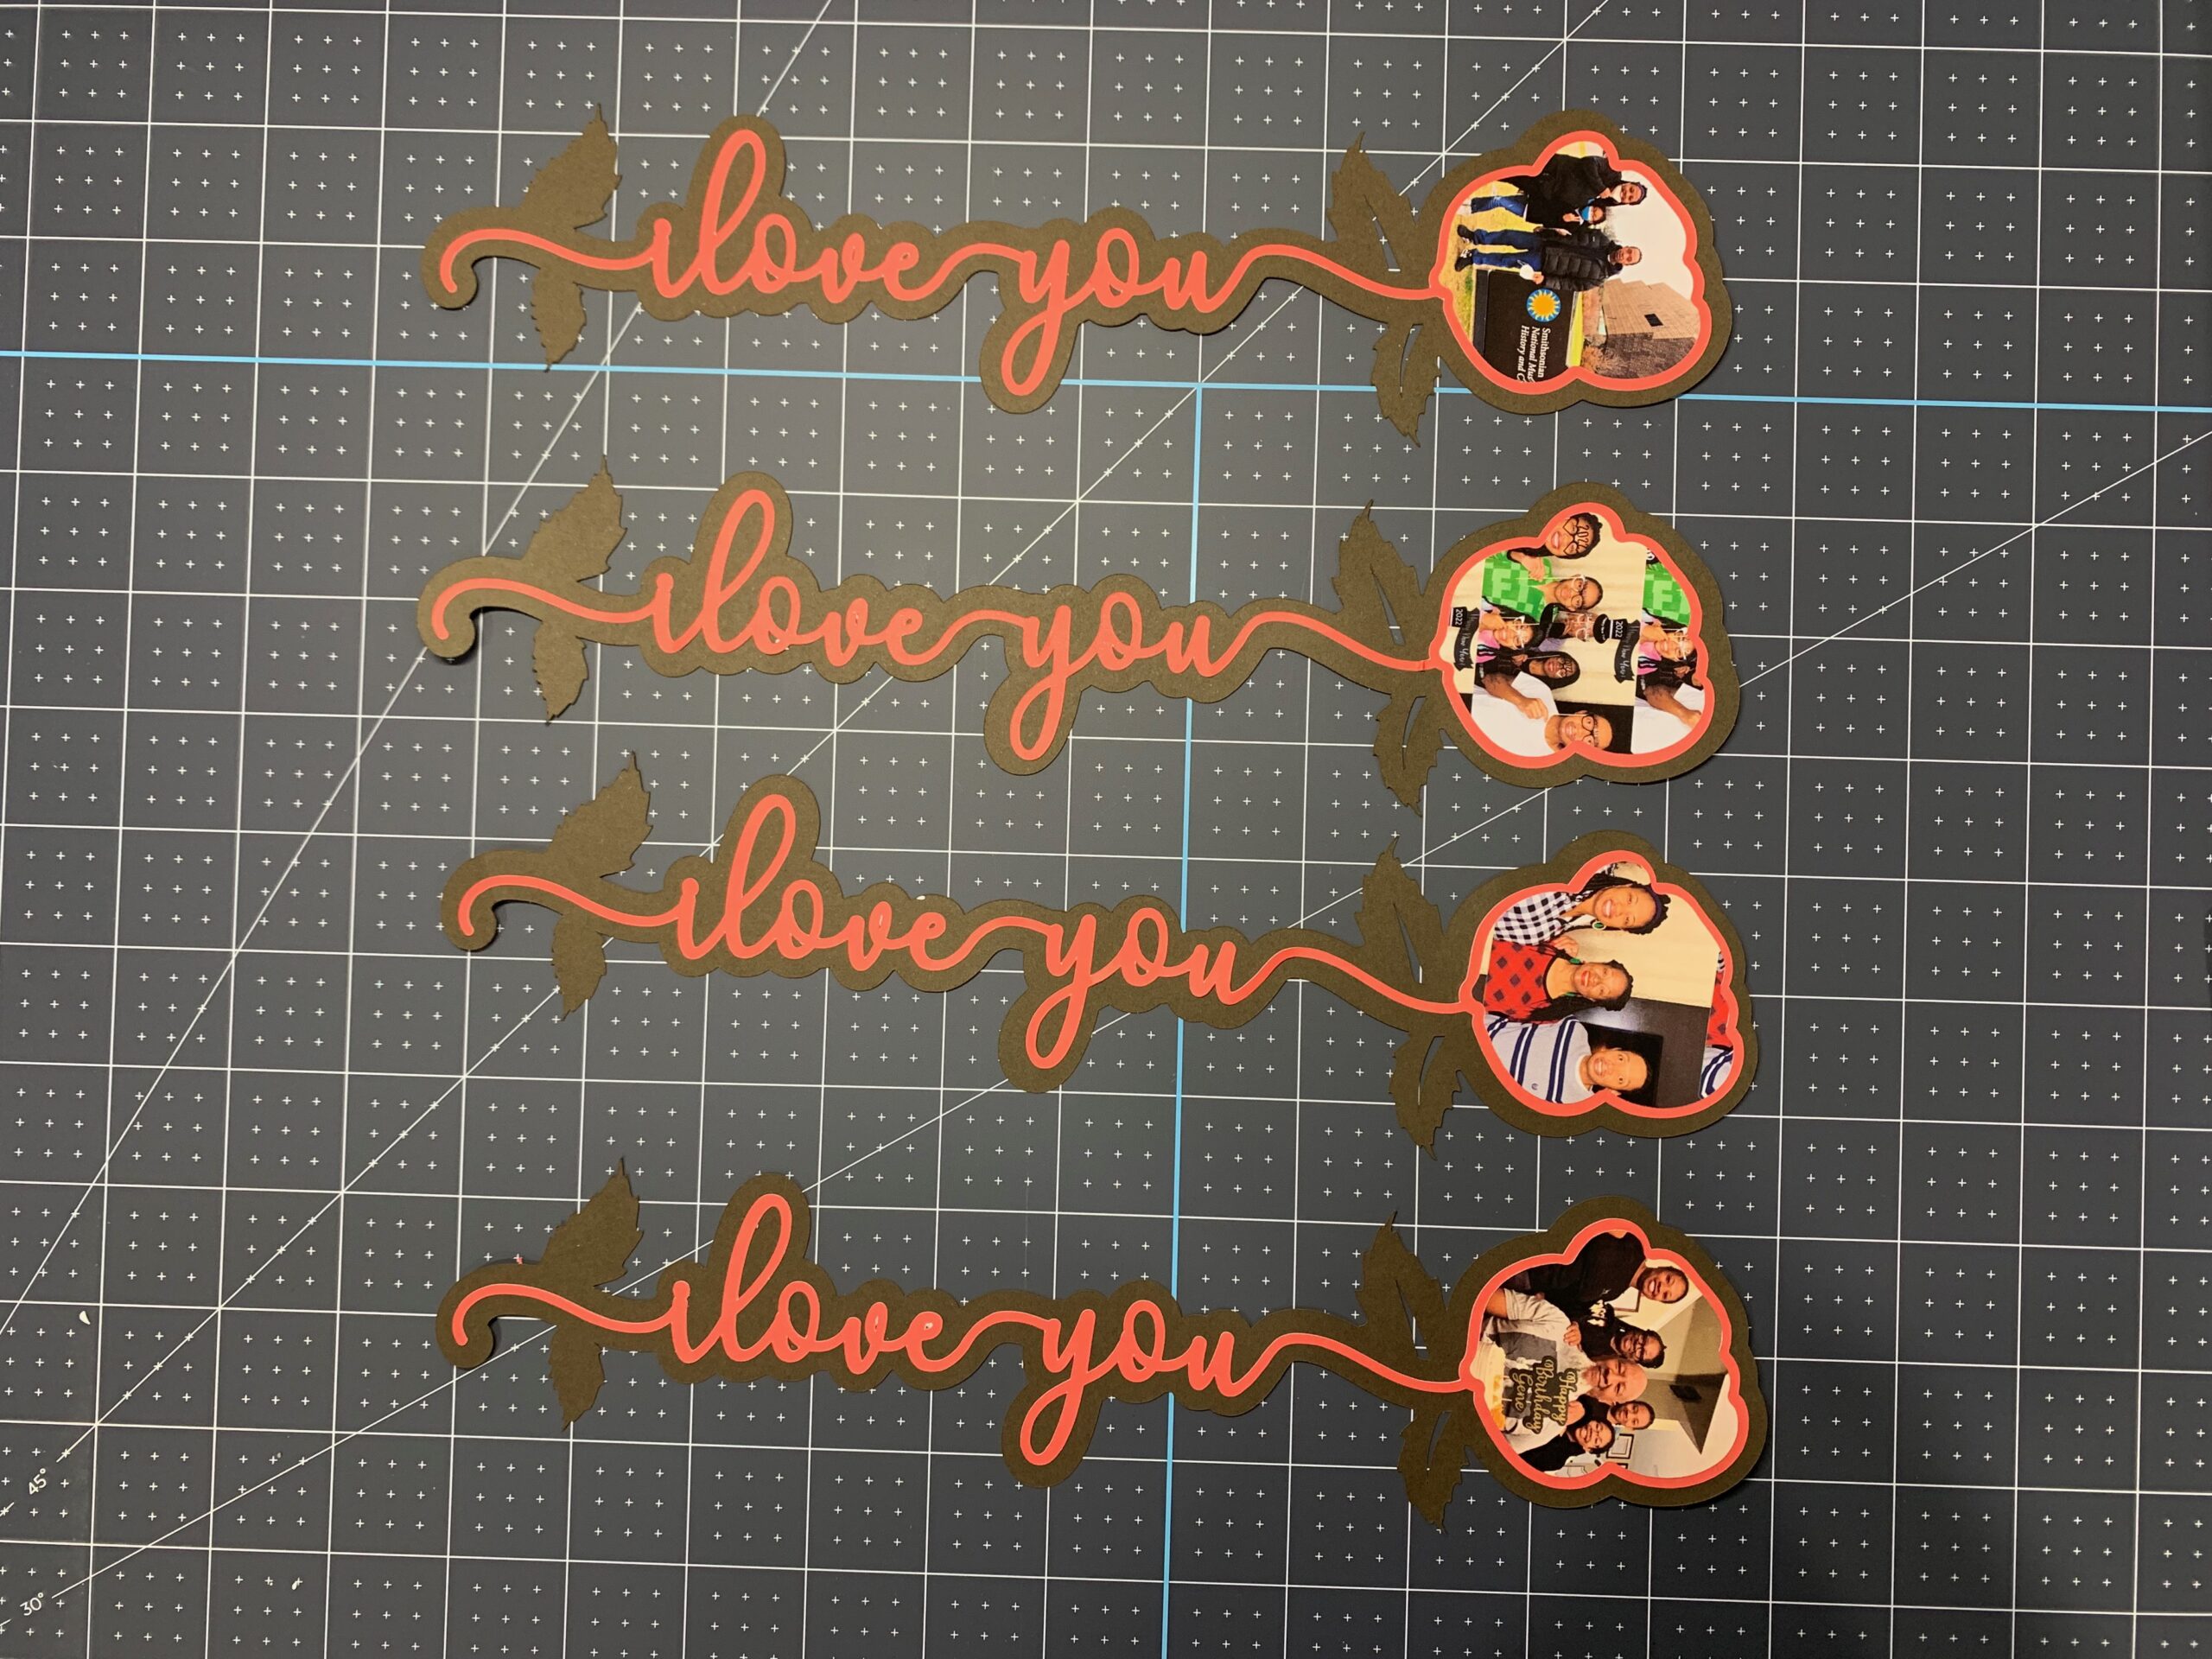
- After everything has been printed and cut, it is time to assemble. Lay the background layer down. Weed the removable vinyl and apply transfer tape over the design. Carefully place the design over the background with a slight offset around all of the sides, as shown. Remove the image from the printable vinyl and place over the rose. Congratulations!