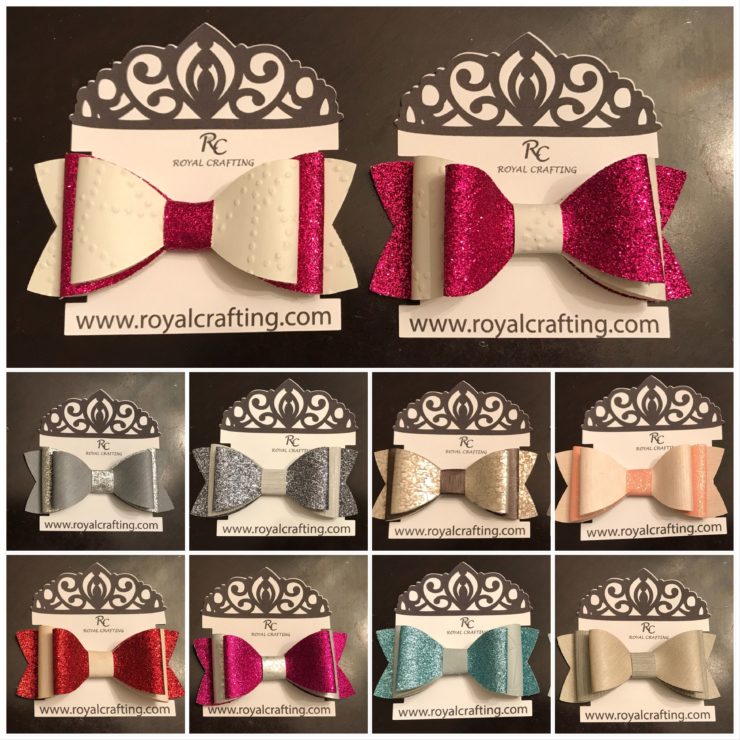
Tools and Supplies:
2- 12 x 12 Faux Leather Sheets
Glue Gun and Glue Stick
Cricut Cutting Machine
Bow Pattern SVG from Cricut Design Space
Rhinestone Strips (optional)

Step 1. Open Faux Leather Bow File in Cricut Design Space. Create a new file from Cricut Design Space. Go to insert an image. Use the search and type “bow” and select the leather bow. Go to make it.
Step 2. Place Faux Leather Sheet on Cricut Mat. Place the faux leather sheet on Cricut mat and load into machine and then hit go. Watch the bow cut.

Step 3. Remove Faux Leather Bow and Assemble. Use the glue gun and place a dot in the middle of the two ovals (in picture, it is shown as the tan faux leather). Fold together and hold (be careful because the hot glue can be hot and burn).

Place a dot of glue on the center of the shorter shape that was cut (in picture, it is shown as the black faux leather). Place the tan faux leather that was folded on top of the black faux leather with the hot glue. Hold together to adhere.


Place a dot of glue on the tan faux leather and wrap the rectangle faux leather around to complete assembly. Now add rhinestones to add some bling!!


